Need a quick and fun project? This owl crochet bookmark is super cute and easy to make! It only takes a little yarn and a few stitches, plus some simple sewing.
Perfect for kids, teachers, or anyone who loves owls, this bookmark is both useful and adorable.
It’s a cute and fun handmade gift that works up quickly. Let’s make a little owl friend to keep your place in a book

If you’d like more crochet projects you can comfortably finish in a day, you can browse the full range of same day crochet projects for easy, enjoyable makes you can complete from start to finish.
Table of contents
Bookmarks are always handy, and this owl crochet bookmark makes reading even more fun! This project is quick, easy, and a great way to use small bits of yarn.
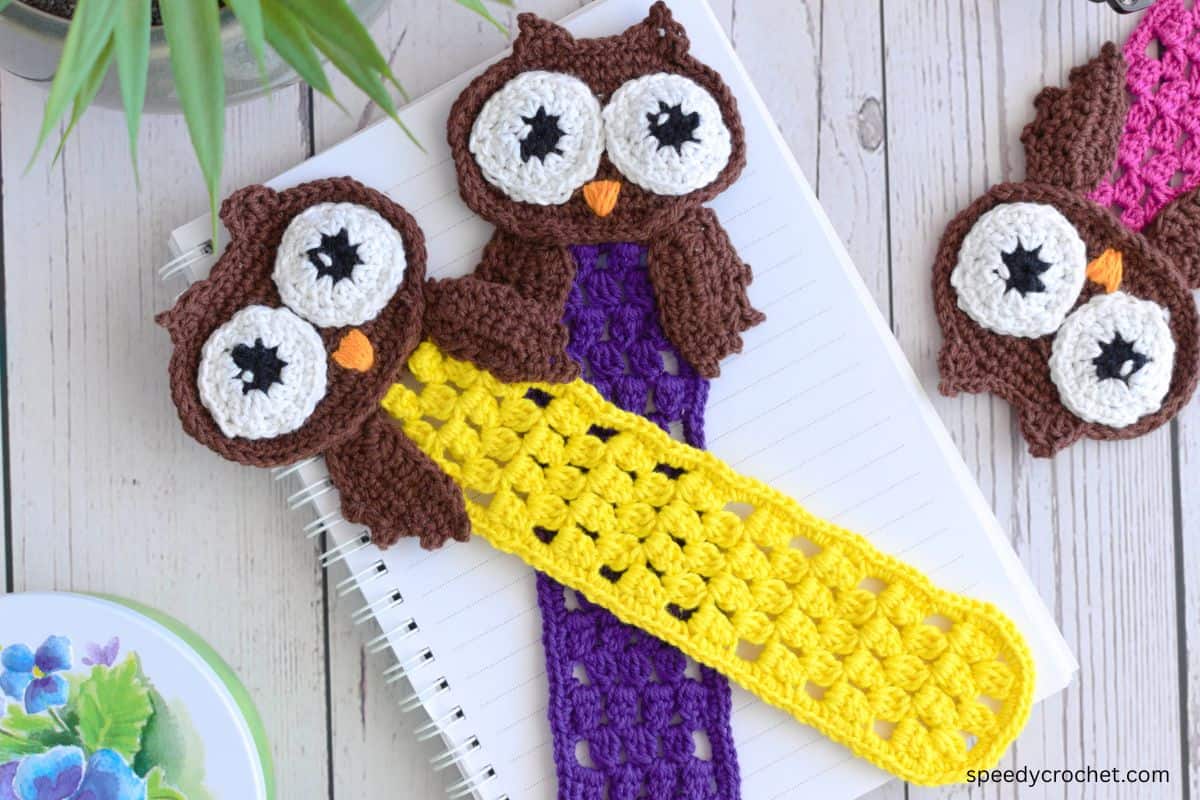
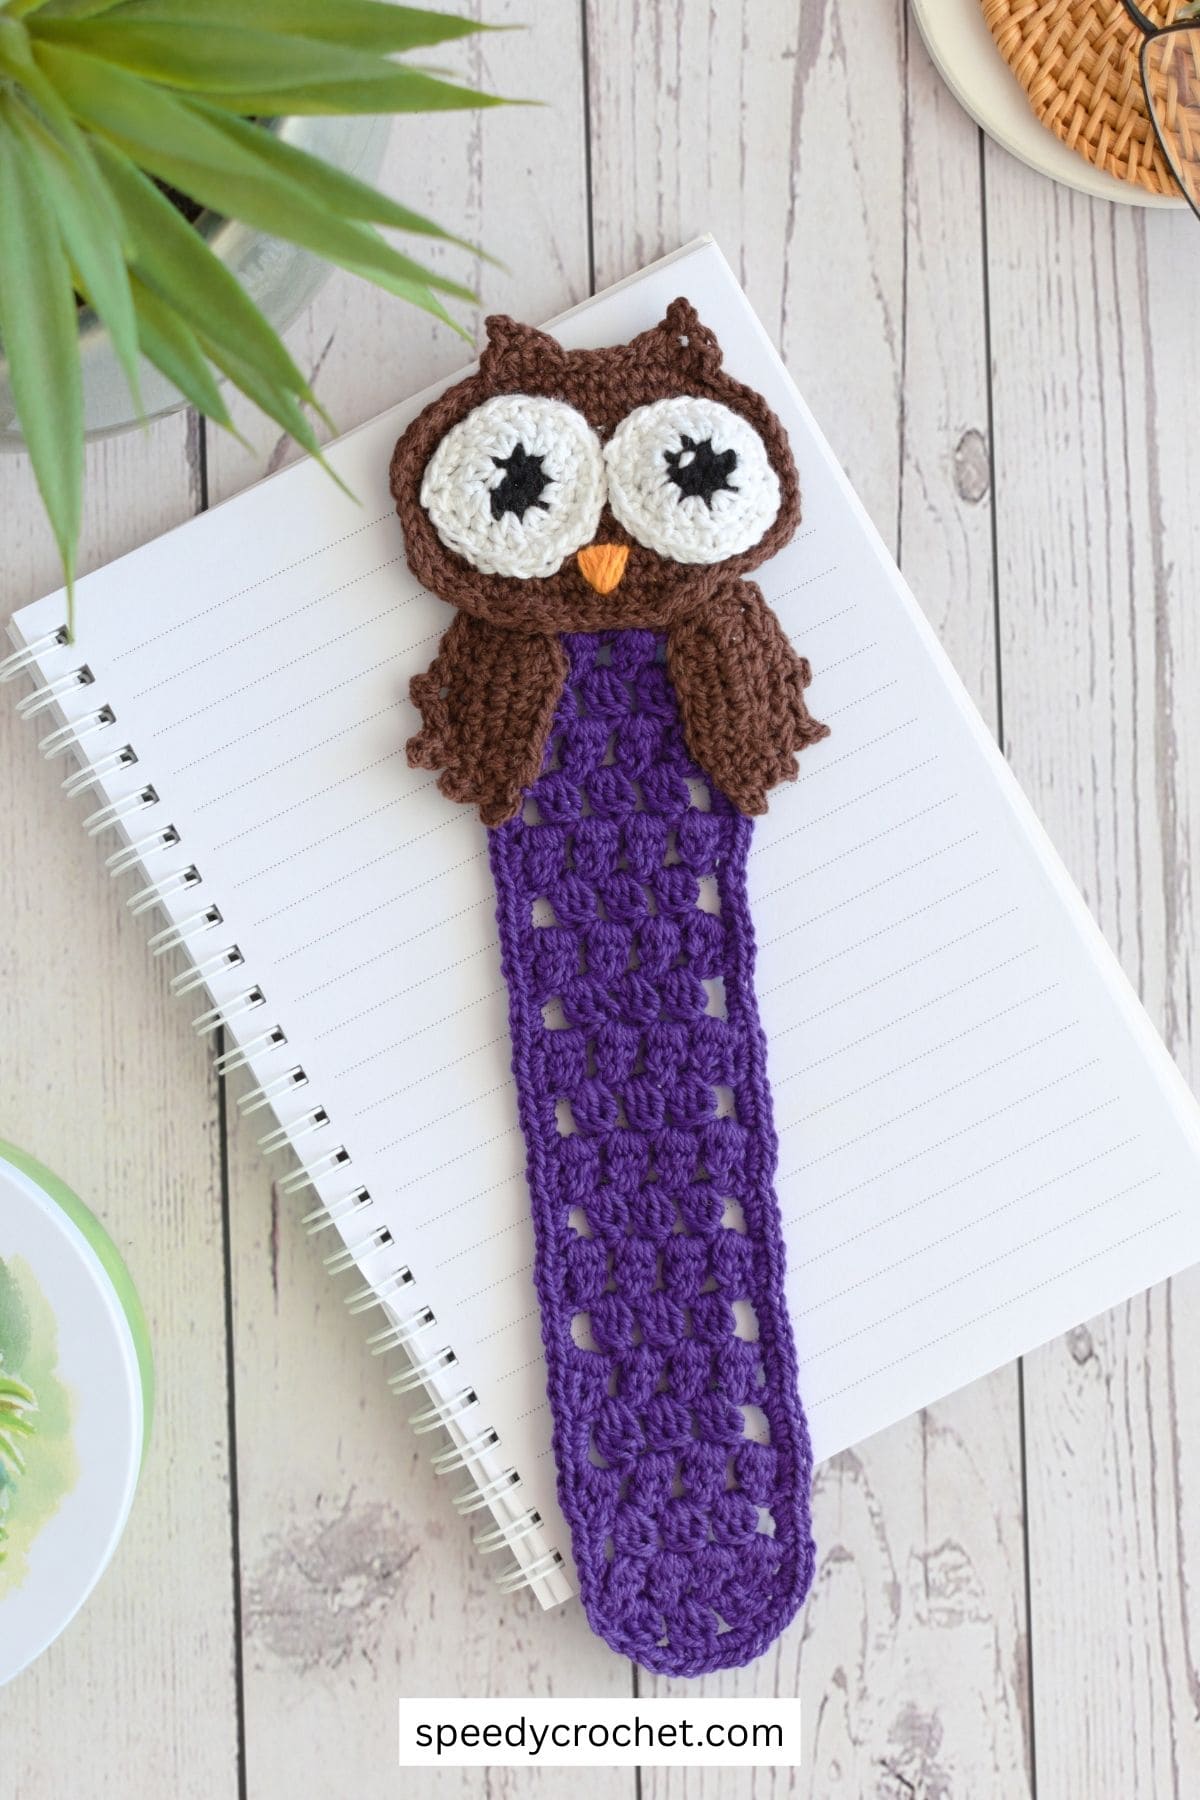
The owl has a cute oval body, simple wings, and big eyes that make it stand out on the page.
The bookmark is made with simple stitches and just a little sewing to put the owl together. With a long wide crocheted strap, it fits nicely inside a book.
You can make one in about an hour, which makes it perfect for a last-minute gift.
This little owl makes a sweet present for teachers, kids, or anyone who loves owls. You can even make a set in different colors to give as gifts.
Quick, cute, and fun—this is a project you’ll want to make more than once!
About This Crochet Bookmark
- Quick to Make - Great for last-minute gifts.
- Beginner-Friendly - Uses simple stitches and easy sewing.
- Adorable Design - A cute owl face with big eyes.
- Practical - A bookmark that’s actually useful.
- Perfect for Gifts - Great for teachers, kids, and owl lovers.
- Scrap Yarn Project - A wonderful way to use up small pieces of yarn.
Materials
Yarn
#1 super fine 100% crochet cotton - thickness about 22 wraps per inch (WPI)*:
- Color A, black, (eyes) – 1.7 yards (1.5 meters)
- Color B, white, (eyes) – 6.15 yards (5.6 meters
- Color C, dark brown, (head, wings and top of bookmark strap) – 19.7 yards (18 meters)
- Color D, orange, (beak) – 27.5 inches (70cm)
- Color E, light brown, (strap) – 25.2 yards (23 meters)
*Wraps per inch (WPI) - measures yarn thickness by counting how many times the yarn wraps around a ruler in one inch. More wraps thinner yarn, while fewer wraps thicker yarn.
Hook Size
- 2mm
Notions
- Scissors
- Yarn Needle
- Stitch markers
Stitches and Abbreviations - US Terms
- ch – chain
- col – color
- dc – double crochet
- dc3CL – double crochet 3 stitches together
- hdc – half double crochet
- hk – hook
- lp/lps – loop/loops
- MR – magic ring
- picot – picot – see special stitches below
- rnd – round
- rpt – repeat
- sc – single crochet
- scdec – single crochet 2 stitches together (a decrease stitch)
- sl st – slip stitch
- st/sts – stitch/stitches
- YO – yarn over
- [] – at the end of a round indicates the number of stitches in that round
Special Stitches
- Picot - ch3, insert hk into 3rd ch from hk, YO pull the yarn back through both the stitch and the loop on the hk.
- scdec - Insert hk in st, YO pull up lp, (2 lps on hk), insert hk in next st, YO and pull up lp (3 lps on hk), YO pull through 3 lps on hk.
- dc3Cl - YO, insert hk in st, YO, pull up lp (3lps on hk), YO, pull through 2 lps (2 lps on hk), YO, insert hook in same st, YO, pull up lp (4 lps on hk), YO, pull through 2 lps (3 lps on hk), YO, pull up a lp (5 lps on hk), YO pull through 2 lps (4 lps on hook), YO pull through all lps on hk.
Finished Size
The finished size of the owl bookmark is about 9.5 inches (24cm) long and 3 inches (7.5cm) wide at is widest point the head.
Gauge
Not so important for this project.
Variations, Color Ideas, and Fun Changes:
- Classic Brown Owl - Go natural with browns and creams.
- Bright and Fun - Try pink, blue, or purple for a playful look.
- Holiday Owls - Use red and green for Christmas or pastels for Easter.
- Add a Tassel - Finish the bookmark tail with a tassel for extra flair.
- Make a Family - Create owls in different sizes or colors.
- Personal Touch - Add initials or tiny details to make it unique
Owl Crochet Bookmark Instructions
This owl crochet bookmark is cute, quick, and fun. It’s a perfect little project that makes reading extra special. Whether it’s for yourself, a teacher, or an owl-loving friend, this bookmark is sure to bring a smile. Happy crocheting!
Eyes (make2)
Rnd 1, col A (black) - 8hdc into MR, pull yarn tail tight to close the ring, sl st into 1st st to join, ch1, cut yarn, fasten off and weave in ends. [8hdc]
Rnd 2, col B (white) – sl st col B into any st, ch2 (not a st), 2dc in same sp as ch-2, 2dc in next 7-sts, sl st into 1st st to join. [16dc]
Rnd 3 – ch1 (not a st), 2sc in same sp as ch-1, 1sc in next, *2sc in next st, 1sc in next, rpt from * 7 times, sl st into 1st st to join, cut yarn, leaving a long tail for sewing. [24sc]
Finish the eye:
Make one or two short stitches to create a white spot on the black, then weave the end back to the top, ready for attaching the eye to the head section.
Thread the yarn tail onto a needle and weave the yarn down the stitch directly under the tail and into the outer edge of the black center.
Head
Notes
- The head is worked in continuous rounds.
- Use a stitch marker to mark the first stitch of each round.
Foundation, col C – ch11
Rnd 1 – 2sc in 2nd st from hk (mark the 2nd chr from hk), 1sc in next 8-sts, 3sc in last st, (work on other side of foundation), 1sc in next 8-sts, 1sc in marked st, 1sc in marked st. [22sc]
Rnd 2 – 2sc in next 2-sts, 1sc in next 8-sts, 2sc in next 3-sts, 1sc in next 8 sts, 2sc in next 1-st. [28sc]
Rnd 3 – *1sc in next st, 2sc in next, rpt from * twice, 1sc in next 9-sts, **2sc in next, 1sc in next rpt from ** 3 times, 1sc in next 8 sts, 2sc in next. [34sc]
Rnd 4 - 1sc in next, 2sc in next, *1sc in next 2-sts, 2sc in next, rpt from * twice, 1sc in next 8-sts, **1sc in next 2-sts, 2sc in next, rpt from ** 3 times, 1sc in next 9-sts. [40sc]
Rnd 5 - 1sc in next 2-sts, 2sc in next, *1sc in next 3-sts, 2sc in next, rpt from * twice, 1sc in next 8-sts, **1sc in next 3-sts, 2sc in next, rpt from ** 3 times, 1sc in next 9-sts. [46sc]
Rnd 6 - 1sc in next 3-sts, 2sc in next, *1sc in next 4-sts, 2sc in next, rpt from * twice, 1sc in next 8-sts, **1sc in next 4-sts, 2sc in next, rpt from ** 3 times, 1sc in next 9-sts. [52sc]
Rnd 7, edging and ears – sl st into the next 14-sts, (1hdc, 1dc, picot) in next st, (1dc, 1hdc) in next st, sl st into next 5-sts, (1hdc, 1dc, picot) in next st, (1dc, 1hdc) in next st, sl st into the next 28-sts, sl st into 1st st, cut yarn, leave a long yarn tail for sewing, fasten off.
Finish head
- Attach eyes – Pin the eyes to the head. When happy with the position, sew each eye into place using the yarn tail.
- Beak – using yarn col D, embroider on an upside down triangle between the eyes for the beak.
Wings (make 2)
Foundation, col C - ch12
Row 1 - sl st into 2nd st from hk, sl st in next st, 1sc in next 2-sts, 1hdc in next 3 -sts, 1dc in next 4-sts, ch1, 2sc around the post of the last dc made. Do not turn. [1ch, 4sc, 3hdc, 4dc]
Row 2, (working down the other side of the foundation chain) – 1sc in next 5-sts, scdec, 1sc in next 2-sts, (leave the last st unworked for the bottom tip of the wing), turn. [8sc]
Row 3 – ch2, sl st into same sp as ch2, 1sc in next 9-sts, turn. [1xch-2, 9sc]
Row 4 – 1sc in next 5-sts, scdec, 1sc in next st, turn. [7sc]
Row 5 - ch2, sl st into same sp as ch2, sl st into next 2-sts ch2, sl st into same sp as ch2, sl st into next 4-sts, cut yarn, leave a long tail for sewing, fasten off and weave in ends.
✨ You're almost there! ✨
To unlock the final steps and complete your pattern, create a free account with Grow.me. below.
Make sure to tick the box to subscribe to our newsletter and stay up to date with the latest patterns, tips, and more!
Once you're signed up, you'll get instant access to finish your project and enjoy exclusive content in the future.
Already signed up? Hit the button below and select ‘Switch to Log In’ to pick up where you left off and finish your project!
Finishing
Attach wings to strap
Place the strap right side up
Position the head so that the bottom sits just between rounds 2 and 3, with col C sew into place.
Position the wings onto the top of the strap, between rows 2 and 3.
The smooth curved side of the wings should be facing in.
Angle the wings so that the yarn tail end and the tip at the bottom of the wings are in line with the outside edge of the strap.
Test the position and look of the wing position by placing the owl head on top- pin into place.
Thread yarn tail col C onto a yarn needle and sew along the top of the wing, fasten off and weave in end. Then thread col E onto the needle and tack the tip of the wing into place.
Expert Tips
- Sew pieces neatly so your owl looks tidy and avoid the stitches showing at the back of the piece.
- Adjust the bookmark strap to any length you like.
Pattern FAQs
Usually under an hour, depending on your crochet speed.
Yes! This bookmark is suitable for giving to kids.
More Easy Patterns
Looking for more patterns like this? Try these:
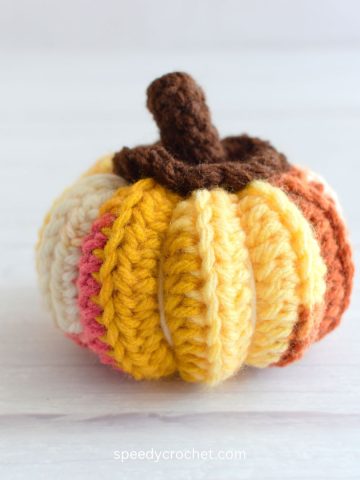
- Easy Ribbed Crochet Pumpkin Pattern For Fall Decor
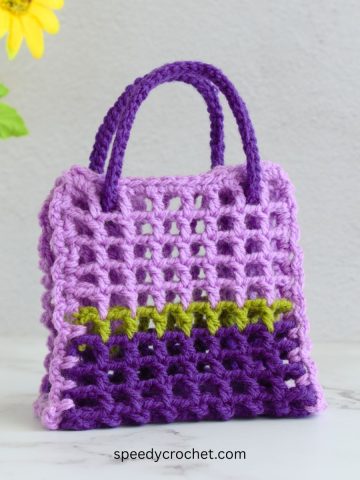
- Easy Crochet Mini Tote Bag Pattern (Small Gift Bag)
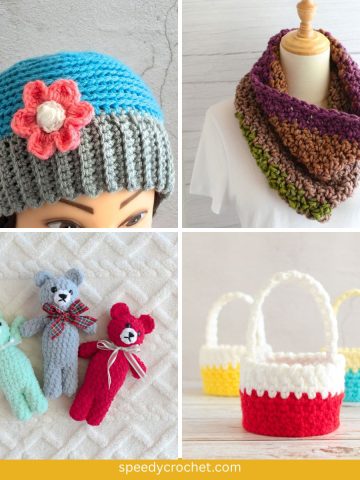
- Same Day Crochet Projects
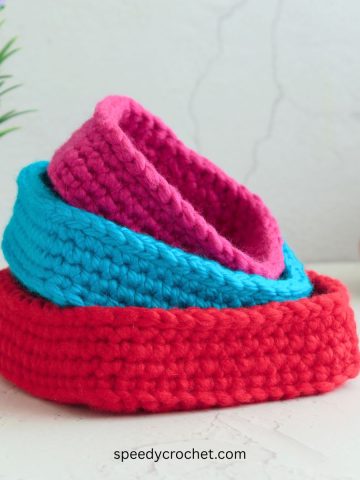
- Small Square Crochet Basket Pattern Set
If you tried this owl crochet bookmark pattern (or any other pattern on my website), please let me know how it went in the comments below. I'd love to hear from you!
What's Next?
- Pin this post: Save this post to Pinterest so that you can come back to it later.
- Share: Share a photo on social median and tag me @speedycrochet. We would love to see your creations!
- Leave a comment: Say hello and share your feedback in the comments section below.