Looking for a fun, beginner-friendly applique project? This crochet fish applique pattern is such a cute make!
With big eyes, round body, and big smiling mouth, it make a charming detail on any project - think baby blankets, tote bags, wall hangings, or even a garland.
It is made by crocheting a few simple pieces separately, then sewing them together.
The whole thing takes about 1.5 to 2 hours to complete, and the result is totally worth it. Perfect for using up yarn scraps, too!

If you’d like more crochet projects you can comfortably finish in a day, you can browse the full range of same day crochet projects for easy, enjoyable makes you can complete from start to finish.
Table of contents
There is just something irresistible about a small crochet animal with a big happy face - and this little fish applique is no exception!
With a chubby round body, oversized eyes, and happy smile, it brings a dose of cuteness to whatever you sew it to.
Whether you are looking something cute to add to a baby blanket, decorate a pouch or backpack, or create a colorful under-the-sea wall hanging, this fish fits the bill.
It is a great beginner project that is simple but not boring. The body, fins, eyes, and mouth are crocheted separately, then sew them together to bring your fish to life.
If you have got some extra yarn and a couple of hours, this is a fun and relaxing way to spend your afternoon.
Things To Note:
- Skill Level - Beginner-friendly! The individual pieces are made using basic stitches - perfect for new crocheters or anyone looking for a quick and cheerful make.
- Time Commitment - This applique takes around 1.5 to 2 hours to make from start to finish, depending on your speed and sewing skills.
- Construction - The fish is made from separate crocheted pieces -body, fins, tail, eyes, and mouth - which are sewn together at the end.
- Customization - You can easily adjust the personality of your fish by changing up colors, making the eyes larger or smaller.
- Uses - These fish are adorable on blankets, pillows, bags, wall art, nursery decor, or strung together in a beach theme garland.
Yarn and Hook Size
I used different yarn weight and hook sizes to make this crochet fish pattern.
The pattern below has been written using #3 Light (DK, light worsted, 8ply) acrylic yarn using a 3.5mm crochet hook - half a size down from the 4mm recommended hook size.
However, feel free to use what every yarn weight you like and use the recommended hooks size – or go down half a size for a tighter stitch.
Materials
Yarn
#3 Light (DK, light worsted, 8ply) acrylic yarn
- Color A – body (cream) – 22 yards (20 meters)
- Color B – body, fins and tail (orange) – 76 yards (70 meters)
- Color C, cheeks (pink) – 1.6 yards (1.5 meters)
- Color D, eyes (white) – 3.2 yards (3 meters)
- Color E, eyes, mouth (black) – 2 yards (2 meters)
Hook Size
- 3.5mm
- 3mm for the pupils and cheeks
Notions
- Scissors
- Yarn Needle
Stitches and Abbreviations - US Terms
- ch – chain stitch
- dc – double crochet
- hdc – half double crochet
- hk – hook
- MR – magic ring
- sc – single crochet
- sc2tog – single crochet 2 stitches together
- sp – space
- st/sts – stitch/stitches
- tr – treble stitch
- [] at the end of a row (or round) indicate the number of stitches in that row.
Special Stitches
sc2tog
- Single crochet 2 together is a way to decrease the number of stitches in a row or round. It is done by partially working two single crochets in two consecutive stitches and completing them as one stitch.
- Insert the hook into the first stitch.
- Yarn over and pull up a loop, you will have 2 loops on your hook.
- Insert the hook into the next stitch.
- Yarn over and pull up a loop, you will have 3 loops on your hook.
- Yarn over and pull through all 3 loops on your hook.
- This completes the sc2tog.
Finished Size

The finished size of the crochet fish applique is about 7 inches (18cm) tall and about 10 inches (25cm) wide. This may vary depending on position and placement of each piece when sewn into place.
If you want a smaller crochet fish, consider using #1 Fingering or #2 Sport weight yarn an appropriate hook size.
Gauge
Not so important for the project.
How To Make A Crochet Fish Applique
This adorable crochet fish pattern is made by assembling several easy pieces, each worked with basic stitches and beginner-friendly shaping.
The overall shape resembles a chubby goldfish, with a rounded, two-tone body and a sweet smiling face.
- Body - The main body is worked in rows (not in the round!), giving it a slightly oval, soft shape. It is crocheted in two colors to create a gentle gradient or contrasting look.
- Tail - The tail is created using a simple crochet heart pattern, giving it a soft, flowing shape that really pops when sewn to one side.
- Bottom Fins - Two identical bottom fins are made separately and sewn on near the base of the body.
- Top Fin is worked as one piece, slightly curved to suit the direction of the tail. The instructions in the pattern are for the fin to be used with the tail l pointing to the left, but the pattern also includes an alternate top fin if you want your fish to face right instead.
- Face Details - The eyes are made with small white and black crochet circles, giving the fish a bright, cartoon-style look.
- Cheeks - A pop of pink yarn is used create the cheeks, adding an extra bit of cuteness.
- Finish - Once all the pieces are made, you will sew them together to complete the piece
Crochet Fish Applique Instructions
Body

Foundation, color A, 3.5 mm hk – ch7
Row 1 – make 2sc in 2nd ch from hk, 1sc in next 4-sts, 2sc in last st, turn. [8sc]
Row 2 - ch1 (not a st), 2sc in 2nd ch from hk, 1sc in next 6-sts, 2sc in last st, turn. [10sc]
Row 3 - ch1 (not a st), 2sc in 2nd ch from hk, 1sc in next 8-sts, 2sc in last st, turn. [12sc]
Row 4 - ch1 (not a st), 2sc in 2nd ch from hk, 1sc in next 10-sts, 2sc in last st, turn. [14sc]
Row 5 - ch1 (not a st), 2sc in 2nd ch from hk, 1sc in next 12-sts, 2sc in last st, turn. [16sc]
Row 6 - ch1 (not a st), 2sc in 2nd ch from hk, 1sc in next 14-sts, 2sc in last st, turn. [18sc]
Row 7-8 – ch1 (not a st), 1sc in each st, turn. [18sc in each row]
Row 9 - ch1 (not a st), 2sc in 2nd ch from hk, 1sc in next 16-sts, 2sc in last st, turn. [20sc]
Row 10, 11 - ch1 (not a st), 1sc in each st, turn. [20sc in each row]
Note: The next row will be a color change but don’t cut color a just yet, carry it across the row and crochet over it.
Row 12, color changes in this rnd – Color B - ch1 (not a st), 1sc in next 7-sts, color A – 1sc in next 6-sts, color B – 1 sc in next 7-sts, turn. Cut color A yarn. [20sc in each row] – Note: Row 12 facing you is the right side of the piece.
Row 13, color B – ch1 (not a st), sc2tog, 1sc in next 16-sts, sc2tog, turn. [18sc]
Row 14-15 – ch1 (not a st), 1sc in each st, turn. [18sc in each row]
Row 16 - ch1 (not a st), sc2tog, 1sc in next 14-sts, sc2tog, turn. [16sc]
Row 17 - ch1 (not a st), sc2tog, 1sc in next 12-sts, sc2tog, turn. [14sc]
Row 18 - ch1 (not a st), sc2tog, 1sc in next 10-sts, sc2tog, turn. [12sc]
Row 19 - ch1 (not a st), sc2tog, 1sc in next 8-sts, sc2tog, turn. [10sc]
Row 20 - ch1 (not a st), sc2tog, 1sc in next 6-sts, sc2tog, turn. [8sc]
Row 21 - ch1 (not a st), sc2tog, 1sc in next 4-sts, sc2tog, turn so that the right side is facing you. [6sc]
Row 22 – ch1 (not a st) 1sc in same sp as ch-1, work 1sc in each st and row around the edge, change yarn colors as you come to them, sl st into 1st sc to join, cut yarn, weave in ends.
Tail

Rnd 1, color B, 3.5 mm hk – Into a MR, 3dc, 3hdc, 1dc, tr (point), 1dc, 3hdc, 3dc, ch3 sl st into ring, pull yarn tail to make the center ring smaller, but do not pull too tight to completely close. [8dc, 6hdc. 1tr, 2 x ch3]
Rnd 2 – ch3, (1hdc, 1dc) into 1st st, 3dc in next st, 2dc in next st, 1dc in next 4-sts, (1dc, 1tr, 1dc) in next st (the point), 1dc in next 4-sts, 2dc in next st, 3dc in next st, (1dc, 1hdc) in next st, ch3, sl st into the center of the ring (between the ch-3s). [2hdc, 22dc, 1tr, 2 x ch3]
Rnd 3 – ch3, 2dc in next 5-st, 1hdc in next 7-sts, (1dc, 1tr, 1dc) in next st (point), 1hdc in next 7-sts, 2dc in next 5-sts, ch3, sl st into center of ring. [14hdc, 22dc, 12 tr, 2 x ch3]
Rnd 4 – ch1, 3sc into ch-3 sp, 1sc in each st, make 3sc in the tr st (heart point), then 1sc in each stitch, then 3sc in the next ch-3 sp, sl st into center, ch1, cut yarn, leave a long tail for sewing and fasten off.
Pull starting yarn tail tight to close the ring, weave in the starting yarn tail to secure the ring. Weave the long yarn tail down to the point of the heart ready for sewing later.
Bottom Fins – make 2

Foundation, color B, 3.5 mmk – ch6
Rnd 1 – 2dc in 2nd ch from hk, 1dc in next 2-sts, 1hdc in next, 3hdc in last st, turn work slightly to work on the other side of the foundation ch, 1hdc in next st, 1dc in next 2-sts, 2dc in same sp as the 1st 2dc, sl st into 1st dc to join. [5hdc, 8dc]
Rnd 2 – ch1 (not a st), 2sc in same sp as ch-1, 2sc in next st, 1sc in next 4-sts, 2sc in next 2-sts, 1sc in next 4-sts, 2sc in next 2-sts, sl st into 1st sc to join, cut yarn, leave a long tail for sewing, fasten off. Weave in starting yarn tail, then weave the long yarn tail down to the bottom of the fin (the hdc sts), to use for sewing later.
✨ You're almost there! ✨
To unlock the final steps and complete your pattern, create a free account with Grow.me. below.
Make sure to tick the box to subscribe to our newsletter and stay up to date with the latest patterns, tips, and more!
Once you're signed up, you'll get instant access to finish your project and enjoy exclusive content in the future.
Already signed up? Hit the button below and select ‘Switch to Log In’ to pick up where you left off and finish your project!
Top Fin - for fish with tail on the left

Foundation, color B, 3.5 mm hk – ch7
Row 1 – 1sc in 2nd ch from hk, 1sc in each st, turn. [6sc]
Row 2 – ch1(not a st), 1sc in each st, turn. [6sc]
Row 3 – ch1 (not a st), 2sc in next st, 1sc next 5-sts, turn. [7sc]
Row 4 – ch1 (not a st), 1sc in next 6-sts, 2sc last st, turn. [8sc]
Row 5 – ch1 (not a st), 1sc in each st, turn. [8sc]
Row 6 – ch1 (not a st), sc2tog, 1sc in next 6-sts, turn. [7sc]
Row 7 – ch1 (not a st), 2sc in 1st st, 1sc in next 4-sts, sc2tog, turn. [7sc]
Row 8 – ch2 (not a st), 2dc in 1st st, 1hdc in next st, 1sc in next 4-sts, 1hdc in last st, continue working down the side of the fin, (4dc) in next st, 1hdc in next, 1sc in each st until you get to the straight edge at the bottom (the foundation ch), sl st along the foundation ch, 1sc in each st along the other side until you reach the sp with the 1st 2dc, 2dc into sp, sl st into top of 1st dc to join, cut yarn, leave a long tail for sewing, fasten off, weave starting yarn tail, then weave the long yarn tail to the bottom of the fin ready for sewing later.
Top Fin - for fish with tail on the right
Foundation, color B, 3.5 mm hk – ch7
Row 1 – 1sc in 2nd ch from hk, 1sc in each st, turn. [6sc]
Row 2 – ch1(not a st), 1sc in each st, turn. [6sc]
Row 3 – ch1 (not a st), 1sc next 5-sts, 2sc in last st, turn. [7sc]
Row 4 – ch1 (not a st), 2sc in 1st st, 1sc in next 6-sts, turn. [8sc]
Row 5 – ch1 (not a st), 1sc in each st, turn. [8sc]
Row 6 – ch1 (not a st), 1sc in next 6-sts, sc2tog, turn. [7sc]
Row 7 – ch1 (not a st), sc2tog, 1sc in next 4-sts, 2sc in last st, turn. [7sc]
Row 8 – Ch2 (not a st), 1hdc in 1st st, 1sc in next 4-sts, 1hdc in next, 2dc, in last st, working down the side make 6sc, the sl st along the bottom edge (the foundation ch), make 5sc up the next edge, make 4dc in the same sp as the 1st hdc, sl st into the top of the hdc to join, cut yarn, leave a long tail for sewing, fasten off, weave in starting yarn tail, and weave the long yarn tail to the bottom of the fin ready to use for sewing later.
Cheeks – make 2

Round 1, color C, 3 mm hk – Make 6sc in a MR, pull yarn tail tight to close the ring, sl st into 1st st to join, cut yarn, leave a long tail for sewing, fasten off, weave in starting yarn tail to secure the ring.
Eyes

Pupils – make 2
Round 1, color E, 3mm hk– Make 6 sc in MR pull yarn tail tight to close the ring, sl st into 1st st to join, cut yarn, leave a long tail for sewing, fasten off, weave in starting yarn tail to secure the ring.
Eye white
Round 1, color D, 3.5mm hk – Make 6sc in MR, pull yarn tail tight to close the ring. [6sc]
Round 2 - 2hdc in each st, sl st into 1st st to join, cut yarn, leave a long tail for sewing, fasten off, weave in starting yarn tail to secure the ring.
Finishing
Before sewing pieces to the body, pin each piece to the body.
The instructions below are for assembling the fish with the tail on the left.
If making the tail on the right reverse the directions. The top fin is different from the top fin for the fish with the tail on the left.
Make the top fin for the fish with the tail on the right using the instructions titled “Top Fin - for fish with tail on the right”, all the other pieces are the same.

Tail
- Position the tail to the left side of the body, at the center point (where the colors change). For a cute look give the tail a slight downward slant.
Bottom Fins
- Attach one bottom fin close to the heart shaped tail at about the 6 and 7 o'clock position.
- Attach the second bottom fin to the right of the body and within the cream colored part of the body.
Top Fin
- Attach the top fin to the top of the body and angle it slightly to the left.
Eyes
- Sew the pupils to the eye whites placing them slightly off center.
- Position the eyes on either side of the 6 single crochets made in round 12 and sew into place.
- Finish the eye by embroidering a small white line on each eye for the sparkle.
Mouth
- With black yarn embroider on a smiling mouth.
Cheeks
Position the cheeks off center under each eye and sew into place.

Expert Tips
- Take Care When Sewing - When sewing the pieces together, take your time positioning the eyes, and fins - it really defines the expression and personality of your fish. Use the images on this page as a guide.
- Use Pins - Mark the placement of fins and eyes with pins before sewing to ensure everything is even.
- Secure the Back - If the applique will be used on a wearable item or something that gets washed often, consider sewing the fish onto a small felt backing for extra durability.
- Mix Up the Colors and Sizes - Make a whole school of fish in different shades and yarn weight for a colorful and multi sized, under-the-sea vibe!
Pattern FAQs
Yes, you can use different yarn weights. Just remember that using a thicker or thinner yarn will change the size of your finished applique. Worsted weight gives a good large sized fish, but feel free to experiment.
No, you can’t crochet this piece as one. This pattern has been designed to be made in parts for more detail and ease.
Yes, the crochet fish applique is suitable for kids items, because all the pieces are made with yarn. Just make sure everything is sewn on securely, especially if you’re attaching it to items for babies or toddlers.
Yes, you're welcome to sell your finished fish - just don’t distribute the pattern itself. And if you post online, a little link back to this blog post would be appreciated

More Easy Crochet Patterns
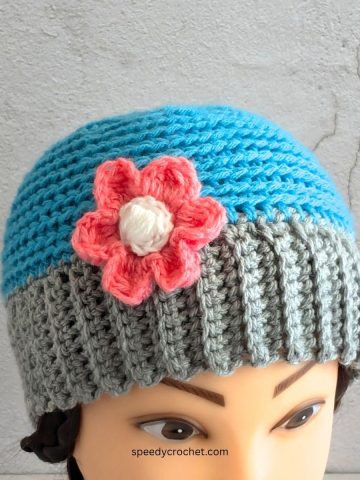
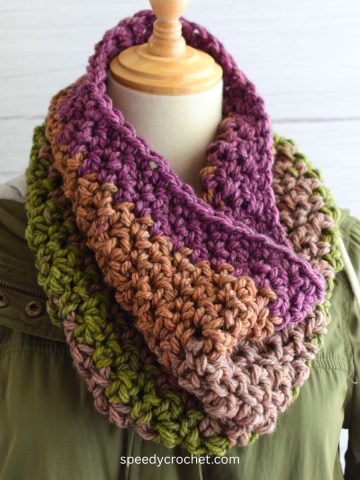
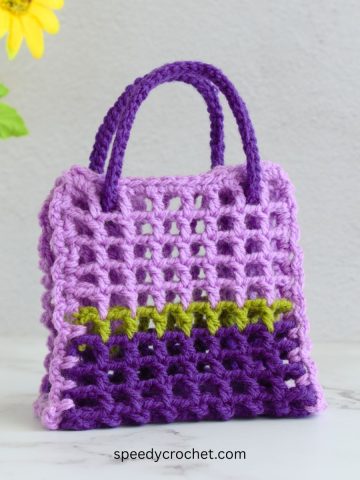
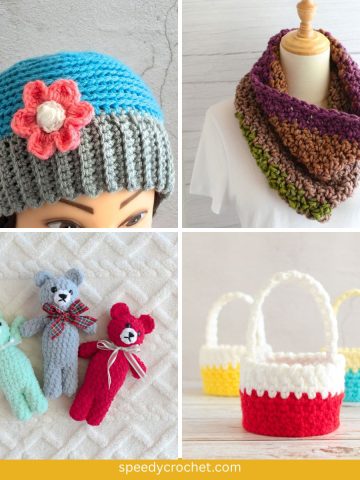
- Crochet Mini Tote Bag Pattern (Easy Gift Bag Crochet Project)
- Same Day Crochet Projects
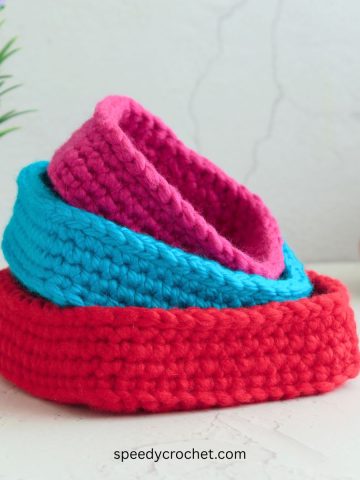
- Small Square Crochet Basket Pattern Set
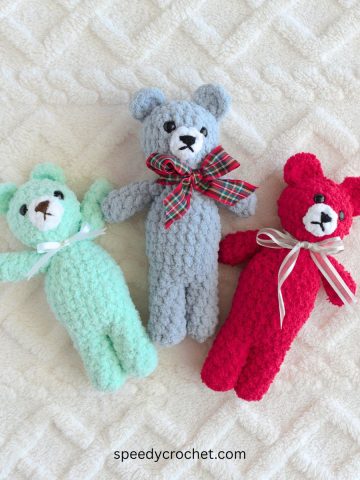
- Small Crochet Bear - Frederick
If you tried this crochet fish applique pattern (or any other pattern on my website), please let me know how it went in the comments below. I'd love to hear from you!
What's Next?
- Pin this post: Save this post to Pinterest so that you can come back to it later.
- Share: Share a photo on social median and tag me @speedycrochet. We would love to see your creations!
- Leave a comment: Say hello and share your feedback in the comments section below.