Brighten up your home with this fun crochet spider coaster! Easy enough for beginners, this project is made in one piece and is perfect for adding a quirky touch to your decor. Whether for Halloween or just for fun, this spider coaster is a great choice.

Looking for more quick coater ideas? Browse all crochet coaster collection.
Things To Note:
- This is an easy, beginner-friendly pattern that is crocheted in one piece and one coaster can be made in under 30 minutes.
- While we used 100% acrylic #3 light worsted weight yarn (approximately 12 wraps per inch) to create these coasters, you can experiment with cotton or other yarn blends for a different look and feel.
- The recommended hook size for the yarn we used was 4 mm, but we used a 3.75mm hook.
- We tested this crochet pattern using #4 worsted weight yarn but weren’t satisfied with the final coaster - it looked too chunky for our liking. However, experiment with different yarn weights and hook sizes and choose what works best for you.

Materials You will Need
Yarn
- #3 Light worsted (DK, light worsted, 8ply) yarn with about 12 WPI (wraps per inch) in the following colors:
- Color of choice - 19.7 yards (18 meters) per coaster
Hook Size
- 3.75 mm
Notions
- Scissors
- Yarn Needle
- 3 x stitch markers
Finished Size

The coaster measures about 3.25 inches (8.5cm) across the body and about 4.5 inches (11.5 cm) from the top of the head to the bottom of the body.
Gauge
The diameter after completing round 3 should be approximately 1.75 inches (4.45 cm).
Stitches and Abbreviations Used - US Terms
- MR - magic ring
- ch - chain
- sc - single crochet
- dc - double crochet
- hdc - half double crochet
- hk - hook
- sl sl - slip stitch
- st/sts - stitch/stitches
- sp - space
- sk - skip
- rpt - repeat
- [ ] - at the end of a round indicates the number of stitches in that round
Instructions
Rnd 1 - MR, ch2 (not counted as a st), 6hdc, pull yarn tail tight to close ring, sl st into 1st hdc to join. [6hdc]
Rnd 2 - ch2 (not counted as a st), 2hdc in each st, sl st into 1st hdc to join. [12hdc]
Rnd 3 - ch2 (not counted as a st), 2hdc in same sp as ch-2, 1hdc in next st, *2hdc in next st, 1hdc in next, rpt from * 5 times, sl st into 1st hdc to join. [18hdc]
Rnd 4 - ch2 (not counted as a st), 2dc in same sp as ch-2, 2dc in next, (1dc, 1hdc) in next, 2hdc in next 5-sts, (1hdc, 1sc) in next, (1sc, 1hdc) in next, 2hdc in next 5-sts, (1hdc, 1dc) in next, 2dc in next 2-sts, sl st into 1st dc to join. [36sts]

Rnd 5 - ch2 (not counted as a st), 2dc in same sp as ch-2, 1dc in next st, 2dc in next st, 1dc in next 4-sts, 1hdc in next 3-sts, 1sc in next 4-sts (mark 1st sc), 1hdc in next 2-sts, 1dc in next 3-sts (mark 2nd dc), 1hdc in next 2-sts, 1sc in next 4-sts (mark 1st sc), 1hdc in next 3-sts, 1dc in next 4-sts, 2dc in next, 1dc in next st, 2dc in next, sl st into 1st dc to join. [38sts]

Rnd 6 - sl st into next 11-sts (the last sl st should be in marked sc st), Leg 1 - ch15, sl st in 2nd ch from hk, sk 2-st, sl st in next 2-sts, make (sl st, ch1, sl st) next st, sl st in next 7-sts, sk1-sts, sl st into next sc st of rnd 5. Leg 2 - rpt leg 1 instructions.

Leg 3 - ch11, sl st in 2nd ch from hk, sl st in next 2-sts, sk next 2-sts, sl st in next 4-sts, sk 1-st, sl st into next sc st of rnd 5.
Leg 4 - rpt leg 3 instructions.

Head - sl st into next 2-sts, (4dc, ch3, sl st into 2nd ch from hk, sl st in next 2-sts, 3dc, ch3, sl st into 2nd ch from hk, 4dc) in next st (the 2nd dc the st of the 3-dc sts in rnd 5), sl st into next 3-sts (last sl st should be in the st before the next marked st).

Leg 5 - ch10, sl st in 2nd ch from hk, sl st in next 2-sts, (sl st, ch1, sl st) in next st, sl st in next 4-sts, sk 1-sts, sl st into next sc st of rnd 5.
Leg 6 - rpt leg 5 instructions.

Leg 7 - ch15, sl st in 2nd ch from hk, sl st in next 3-sts, sk 2-sts, sl st in next 7-sts, sk 1-sts, sl st into next sc st of rnd 5.
Leg 8 - rpt leg 7 instructions, sl st into next 13-sts, sl st into 1st sl st to join, cut yarn, fasten off, and weave in the ends.

Finishing
If the spider's legs need adjusting, gently pull each one to ensure they are even on both sides. Once finished, consider blocking the coasters to help them hold their shape and lay flat.
FAQ
Cotton crochet thread, particularly in sizes 10 or 20, is ideal for coasters due to its absorbency, durability, and heat resistance. Mercerized cotton, bamboo blends, or acrylic yarns are also good options.
Yes, crochet coasters are practical. They protect surfaces from water and heat and can be durable if made with the right yarn, like cotton. Plus, they add a nice decorative touch to your home.

Explore more Halloween-themed crochet coasters, such as our spooky eyeball coasters and eerie spider web coasters, to complete your Halloween collection.
Each design adds a unique touch to your seasonal decor and makes great conversation starters!
Or check out our quick crochet makes page for more inspiration.
More Easy Crochet Patterns
Looking for more patterns like this? Try these:
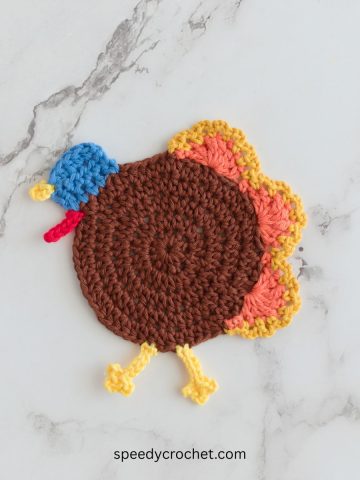
- Turkey Crochet Coaster Pattern (Cute Thanksgiving Crochet Project)
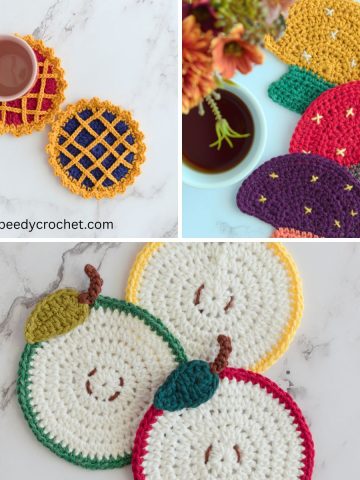
- Pie Crochet Coaster Pattern (Cute Fall & Thanksgiving Crochet Project)
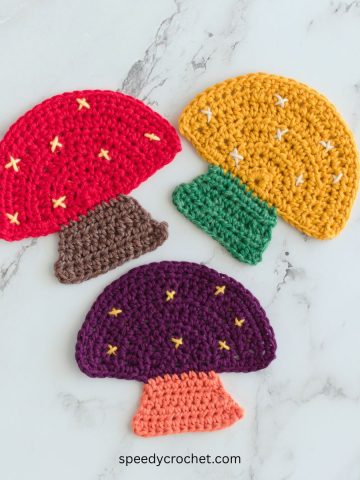
- Mushroom Crochet Coaster Pattern (Quick 30 Minute Fall Crochet Project)
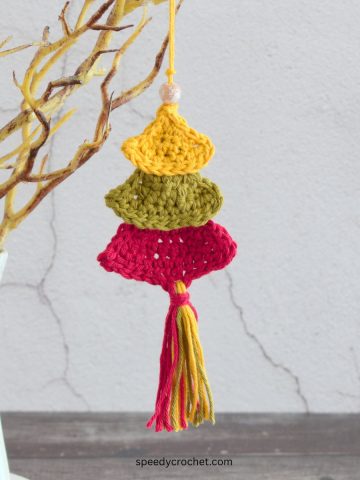
- Easy Crochet Christmas Tree Decoration

If you tried this pattern for crochet spider coasters (or any other pattern on my website), please let me know how it went in the comments below. I'd love to hear from you!
What's Next?
- Pin this post: Save this post to Pinterest so that you can come back to it later.
- Share: Share a photo on social median and tag me @speedycrochet. We would love to see your creations!
- Leave a comment: Say hello and share your feedback in the comments section below.