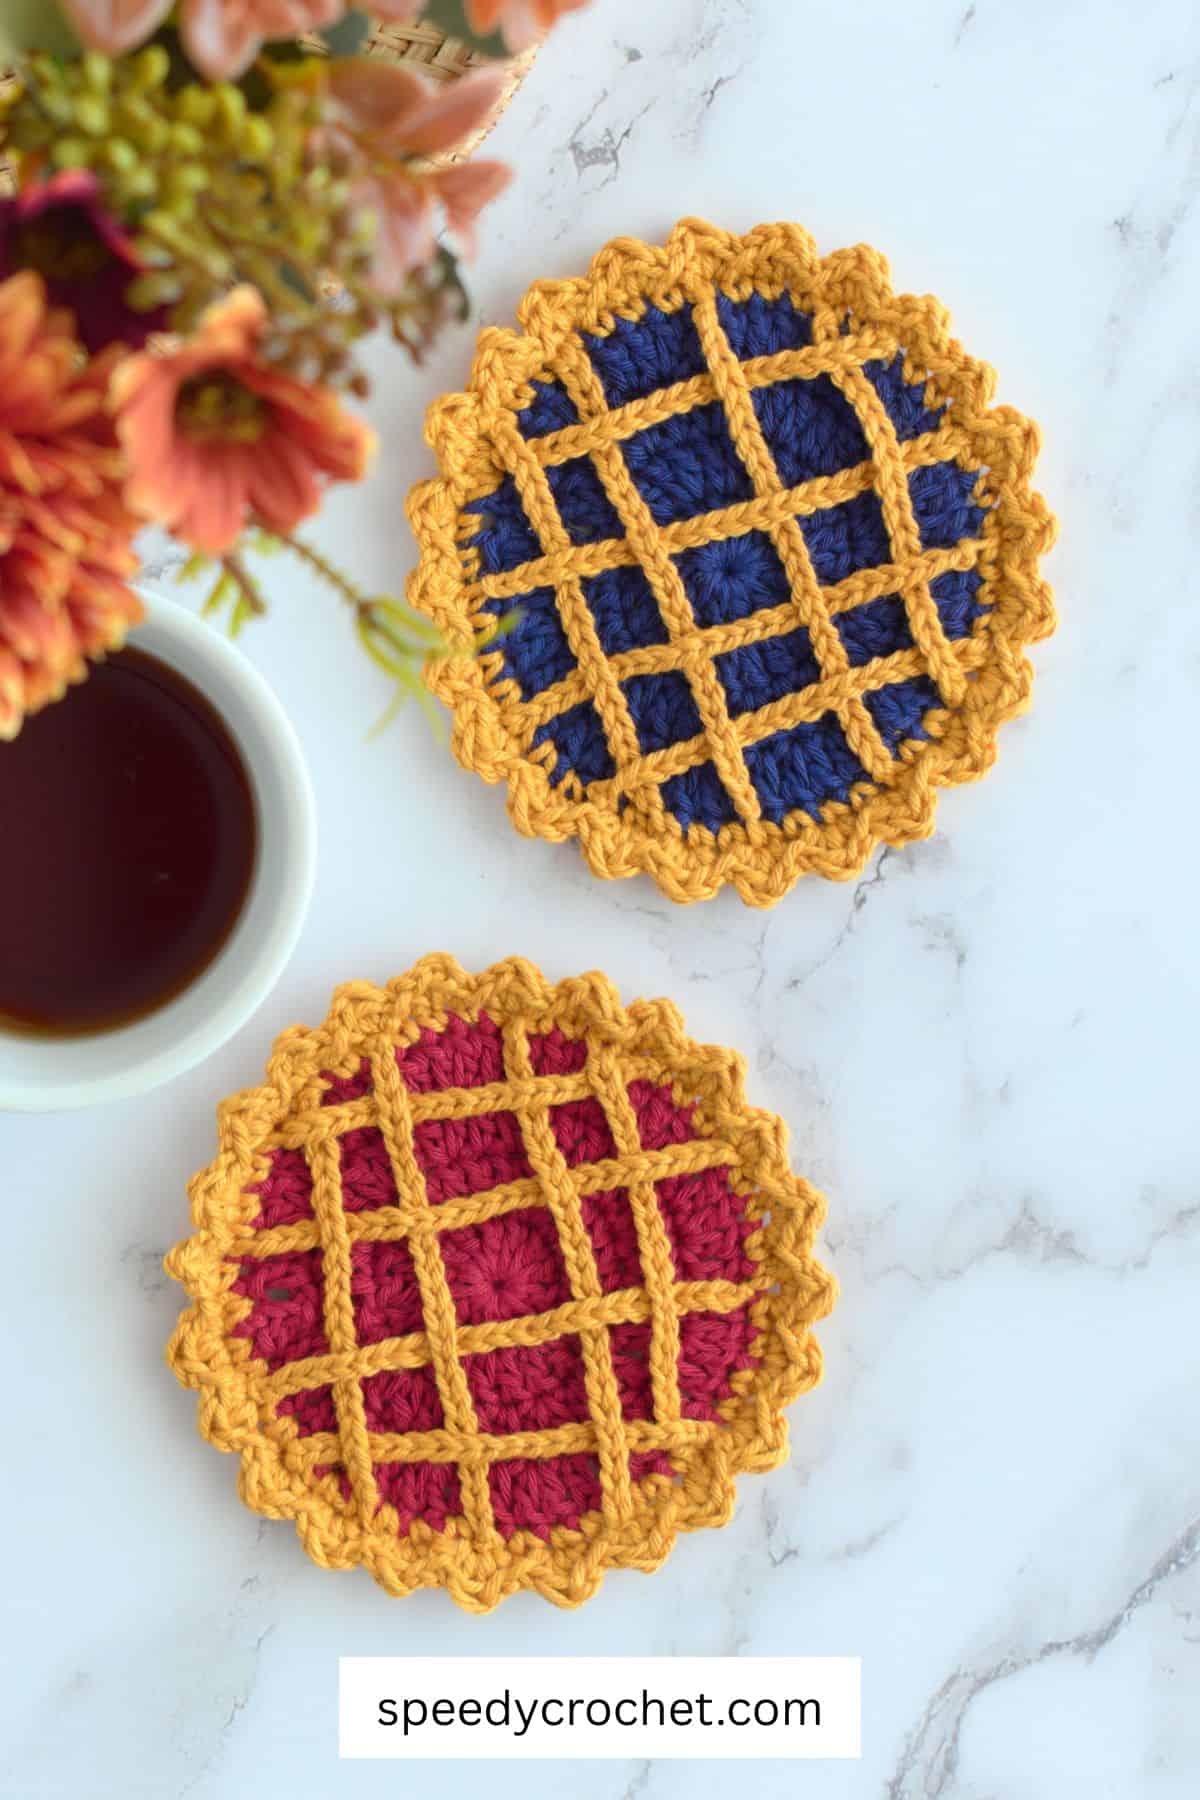
These adorable pie crochet coasters are the perfect cozy addition to your fall crochet decor collection.
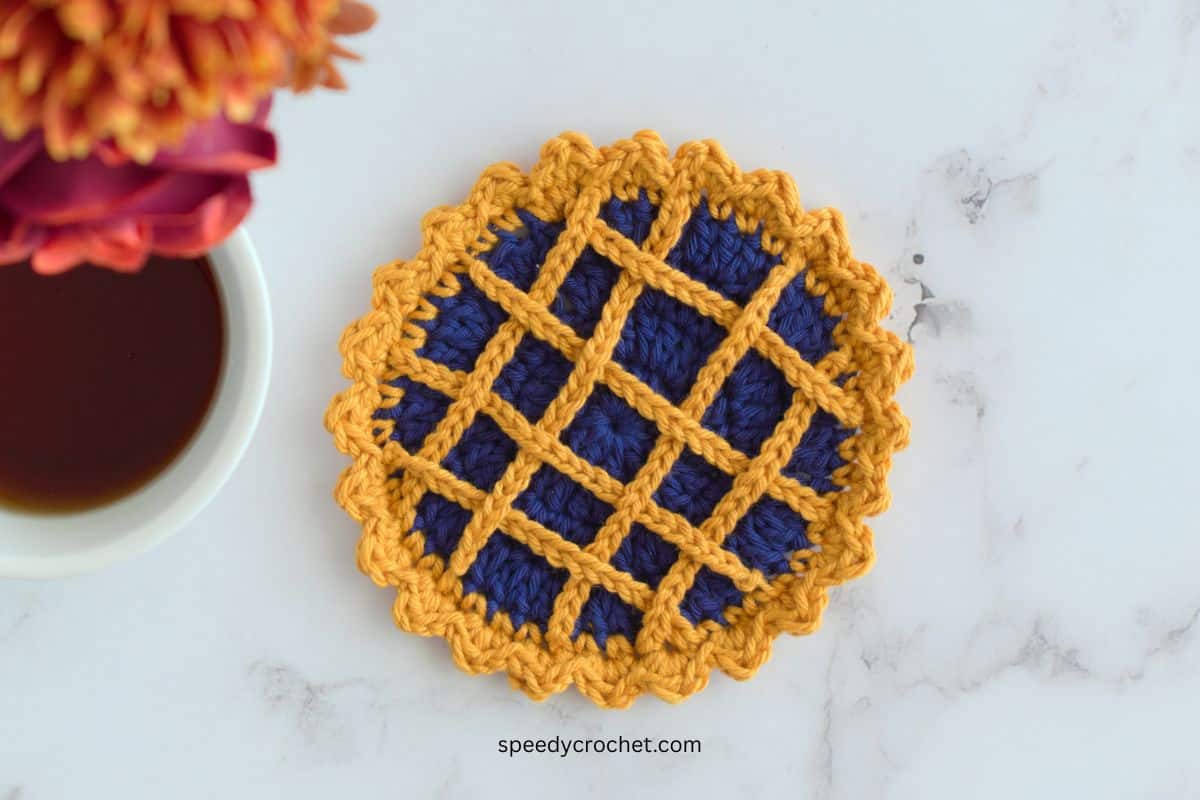
Made with fine cotton yarn and finished with a folded pie crust and lattice top detail, this beginner-friendly crochet coaster pattern creates the cutest miniature berry pies in about 40 minutes.
I used deep red for a raspberry pie version and dark blue for a blueberry pie look, making these coasters perfect for Thanksgiving table decor, handmade gifts, and cozy autumn crochet projects.
If you are looking for more coaster pattern ideas check out our crochet coaster collection.
Table of contents
- Why You'll Love This Pie Crochet Coaster Pattern
- Quick Pattern Details
- The Perfect Crochet Project for Fall & Thanksgiving
- Materials
- Stitches and Abbreviations - US Terms
- Gauge & Finished Size
- Crochet Pie Coaster Instructions
- Finish
- Crochet Pie Coaster FAQ's
- Other Fall Crochet Patterns You May Also Love
- Crochet Pie Coasters
- What's Next?
- Comments
Why You'll Love This Pie Crochet Coaster Pattern
- Fun and unique fall crochet project
- Perfect for Thanksgiving table decor
- Cute miniature pie design with lattice crust detail
- Great stash and scrap yarn project
- Beginner-friendly construction
- Easy to customize in different pie flavors and colors
- Makes thoughtful handmade gifts
- Adds cozy cottagecore and farmhouse charm
- Perfect for autumn crochet collections and seasonal decor
These pie coasters are especially fun because you can create an entire “dessert set” in different berry shades and crust styles.
Quick Pattern Details
Skill Level - Easy / Beginner Friendly
Time to Make – about 40 minutes
Yarn - #2 fine yarn (with about 16 wraps per inch), cotton or cotton blend recommended
Construction Notes - The coaster base is crocheted first, then assembled with folded pie crust edging and a lattice pie crust top detail. Some sewing is required for attaching and shaping the finished pie elements.
- Color Inspiration
- Dark blue for blueberry pie
- Deep red for raspberry pie
You can also create:
- Cherry pie
- Blackberry pie
- Strawberry pie
- Mixed berry pie
The Perfect Crochet Project for Fall & Thanksgiving
These crochet pie coasters are perfect for:
- Thanksgiving table settings
- Fall crochet decor
- Cottagecore home styling
- Handmade hostess gifts
- Autumn kitchen decor
- Craft fairs and seasonal markets
- Cozy crochet coffee table accessories
Their detailed design makes them feel extra special while still being approachable for confident beginners.
Materials
Yarn
#2 fine (sports, fingering, baby, 4ply), 100% cotton or cotton blend yarn with about 16 wpi*
- Color A, pie (dark red) – 10.9 yards (10 meters)
- Color B, pie crust (gold) – 17.5 yards (16 meters)
*Wraps per inch (WPI) - measures yarn thickness by counting how many times the yarn wraps around a ruler in one inch. More wraps thinner yarn, while fewer wraps thicker yarn.
Hook Size
- 3.5mm
Notions
- Scissors
- Yarn Needle
Stitches and Abbreviations - US Terms
- ch – chain
- col – color
- dc – double crochet
- rnd – round
- rpt – repeat
- sc – single crochet
- sl st – slip stitch
- sp/sp – space/spaces
- [ ] - at the end of a round indicates the number of stitches in that round
Gauge & Finished Size
Finished size – 4.5 inches (11.5cm) in diameter
Gauge - Rather than a traditional gauge swatch, use the finished coaster dimensions to determine gauge accuracy.
Crochet Pie Coaster Instructions
Pie
Foundation, col A – ch3, sl st into 1st ch to make a ring.
Rnd 1 – ch2 (count as 1dc), 11dc into ring, sl st into top of ch2 to join. [12dc]
Rnd 2 – ch2 (count as 1dc), 1dc in same sp as ch-2, 2dc in each st, sl st into top of ch-2 to join. [24dc]
Rnd 3 – ch2 (count as 1dc), 1dc in same sp as ch-2, 1dc in next st, *2dc in next, 1dc in next, rpt from * 11 times, sl st into top of ch-2 to join. [36dc]
Rnd 4 - ch2 (count as 1dc), 1dc in same sp as ch-2, 1dc in next 2-sts, *2dc in next, 1dc in next 2-sts, rpt from * 11 times, sl st into top of ch-2 to join, cut yarn, fasten off and weave in ends. [48dc]
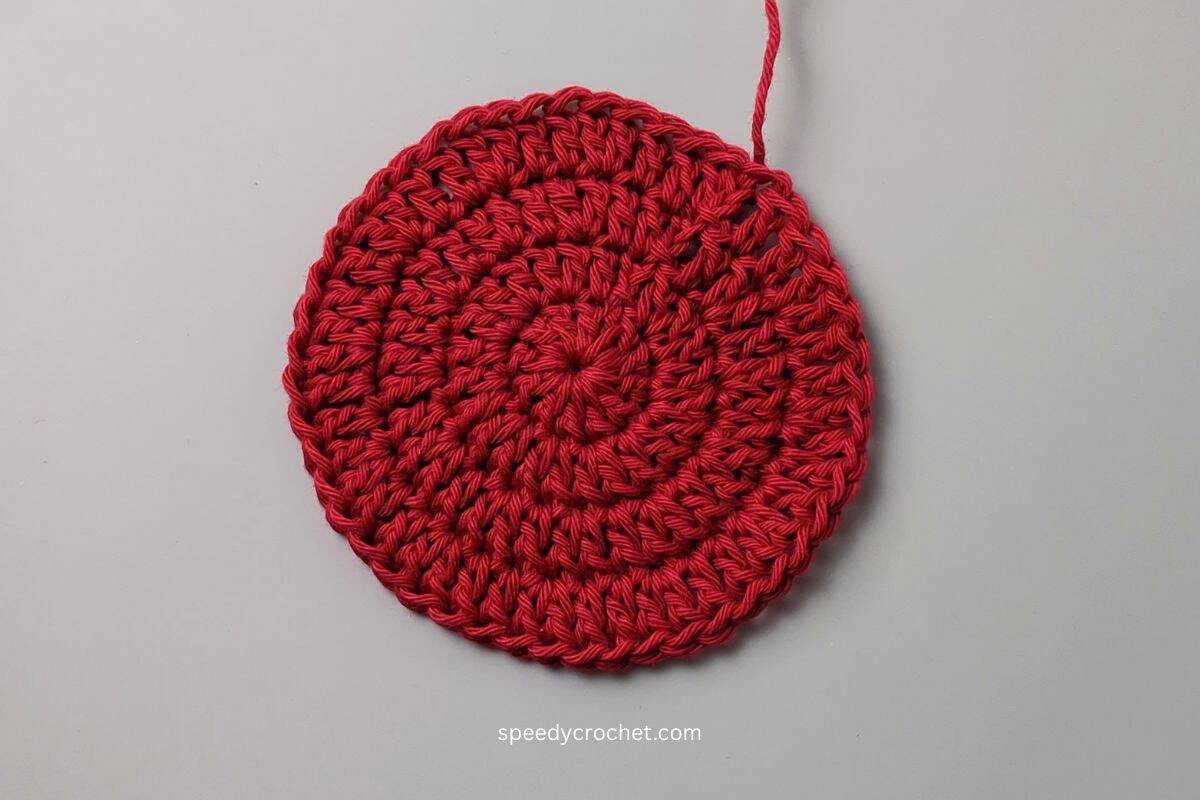
Rnd 5, col B – sl st new col into any st, ch1 (not a st), 1sc in same sp as ch-1, 1sc in each st, sl st into 1st st to join. [48sc]
Rnd 6 – *(1sc, 1dc, 1sc) in next st, sl st into next st, rpt from * 24 times, cut yarn, fasten off, weave in ends.
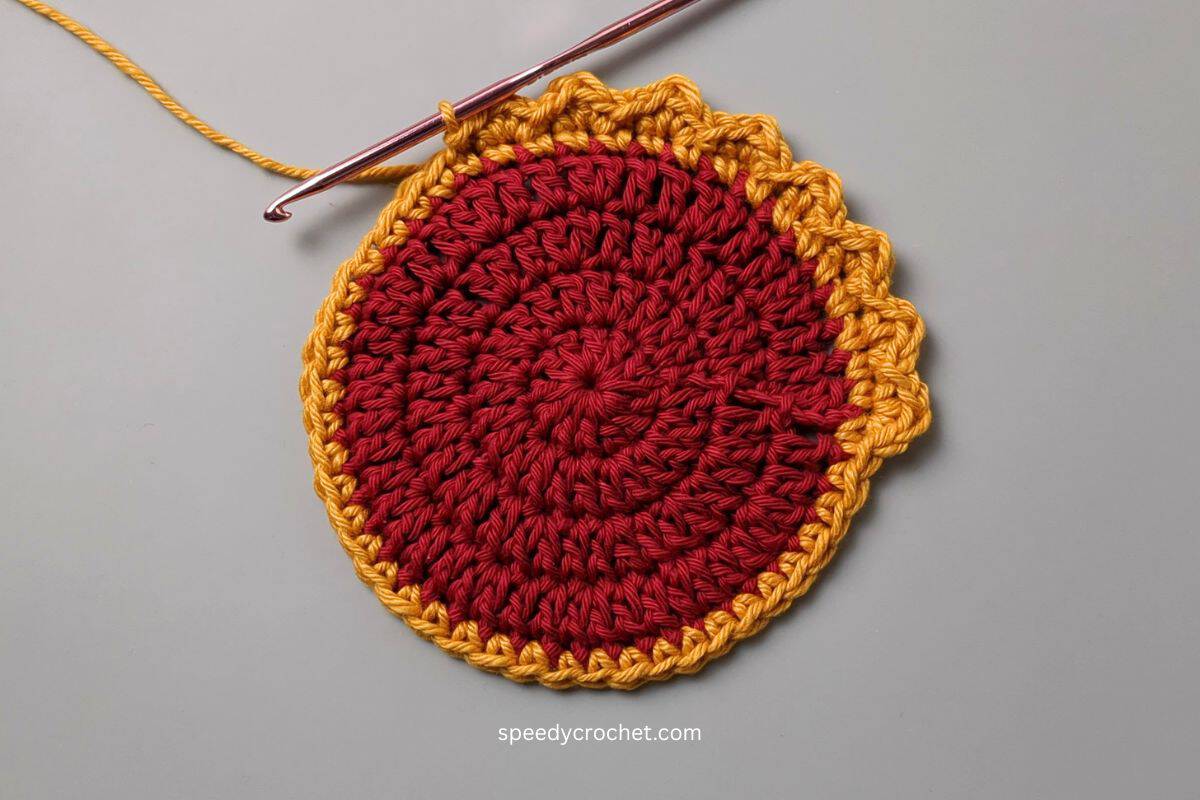
Lattice
Lattice – make four (4) pieces of 19ch stitches and four (4) pieces of 23ch stitches, each with a long starting and end yarn tail for sewing.
Finish
Sewing The Lattice
The first lattice layer is created using the crochet chain lengths attached vertically across the top of the pie coaster.
- Use the 19-chain lengths for the outer vertical lattice strips.
- Use the 23-chain lengths for the center vertical lattice strips.
Arrange the chains evenly across the coaster from left to right. Position each strip so the beginning and end of the chain are secured between the stitches of Rounds 5 and 6.
To attach:
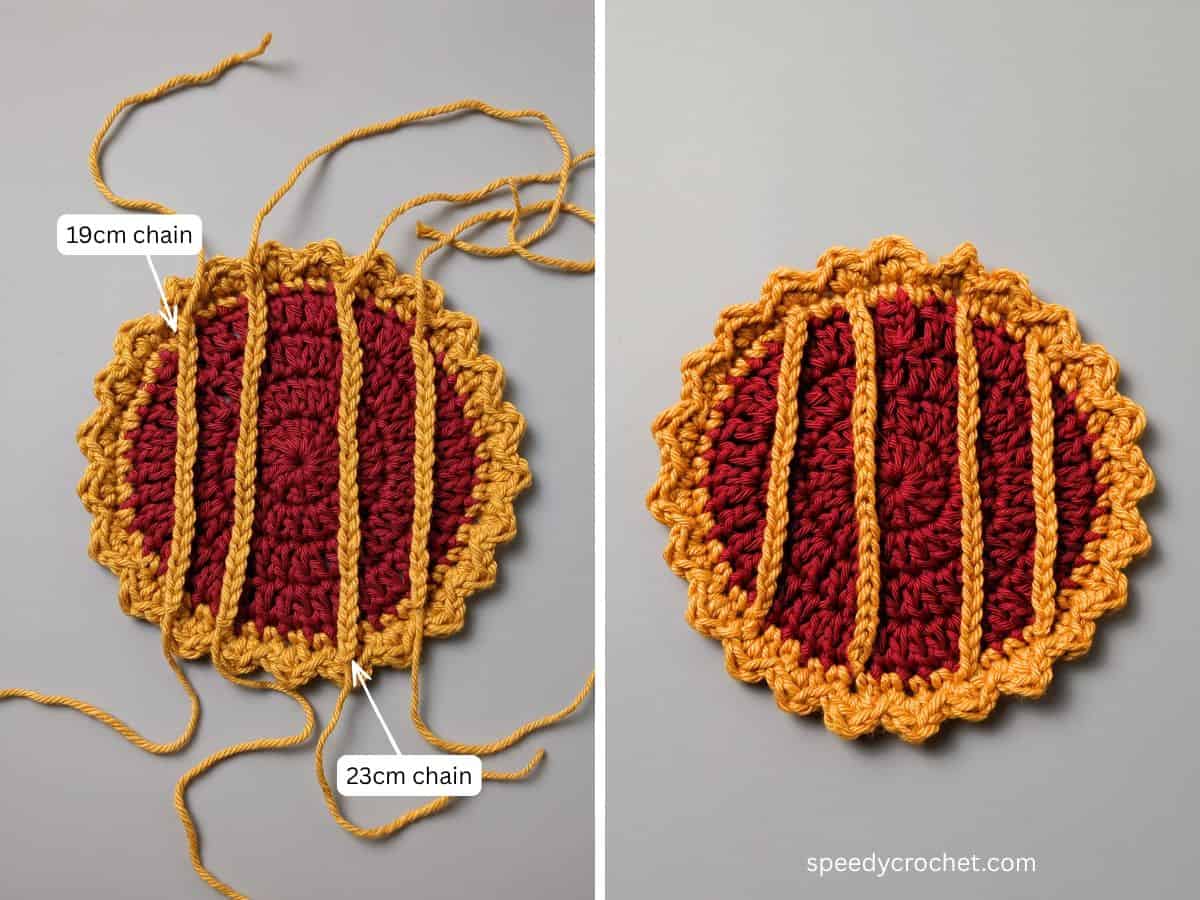
- Thread the yarn tails onto a yarn needle.
- Insert the needle between the stitches of Rounds 5 and 6 at the desired placement point.
- Secure the beginning of the chain neatly to the coaster edge.
- Lay the chain vertically across the coaster surface, ensuring it is straight and not twisted.
- Secure the opposite end between the stitches of Rounds 5 and 6 on the opposite side of the coaster.
Repeat for all vertical lattice strips, keeping the spacing even across the coaster.
Weaving the Horizontal Lattice
Once the vertical chains are attached, use the remaining chain lengths to create the woven lattice.
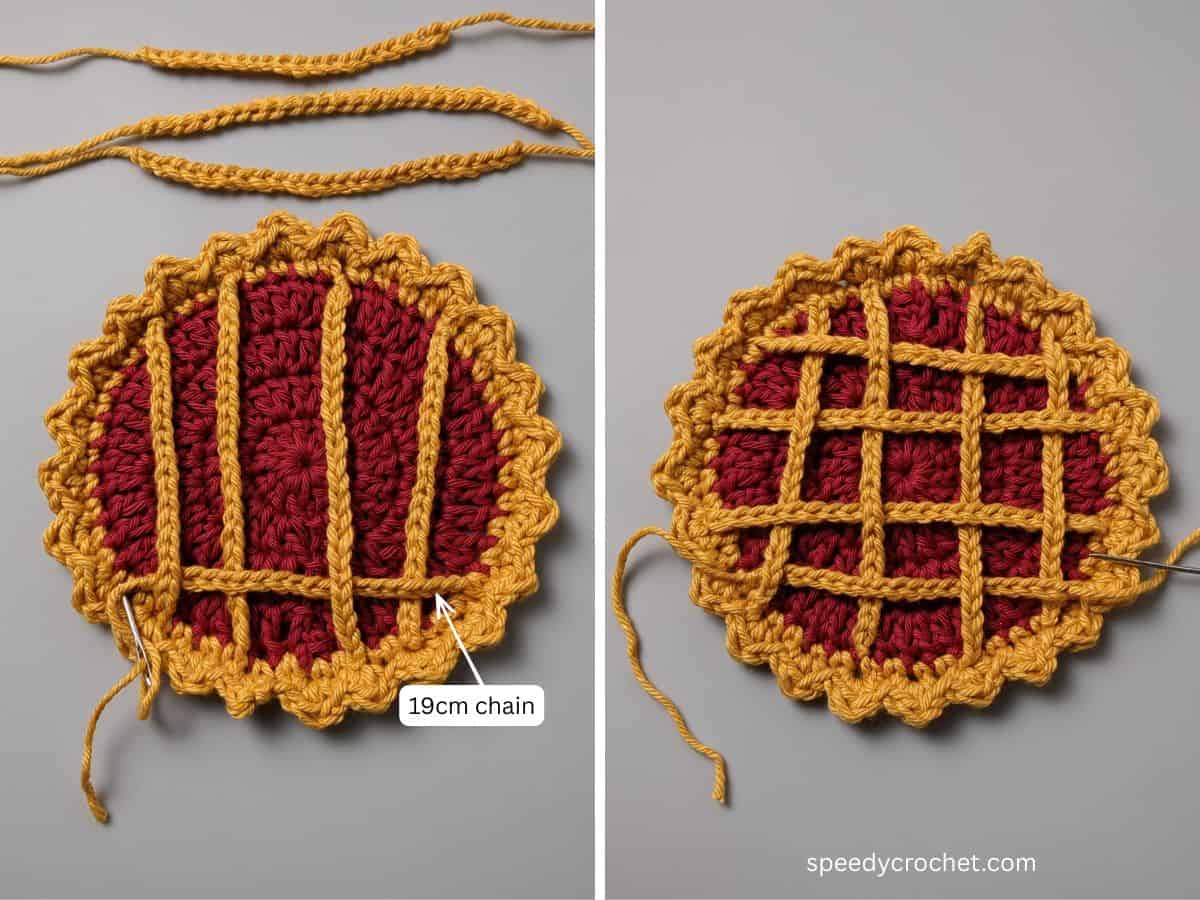
Starting at one side of the coaster, weave each chain horizontally across the vertical strips using an over-and-under pattern:
- weave over the first vertical strip,
- under the next strip,
- repeating across the coaster.
Alternate the weaving pattern for each horizontal strip so the lattice effect is visible.
Adjust the woven chains as needed so the spacing remains even and the lattice lies flat. Once satisfied with the placement, secure both ends of each horizontal chain between the stitches of Rounds 5 and 6.
Weave in all remaining ends securely on the back of the coaster.
Crochet Pie Coaster FAQ's
Yes! While some sewing is required, the stitches and construction are beginner friendly and approachable for newer crocheters.
How long does it take to make?
Each coaster takes approximately 40 minutes to complete.
Cotton or cotton blend yarn is recommended because it holds shape well and works best for functional crochet coasters.
This pattern uses #2 fine yarn with approximately 16 WPI.
Absolutely! You can easily customize the filling colors for blueberry, raspberry, cherry, blackberry, strawberry, or mixed berry pies
Yes. Some sewing is needed to attach and shape the pie crust and lattice details.
Definitely. These pie crochet coasters are perfect for Thanksgiving table styling, autumn decor, and cozy seasonal displays.
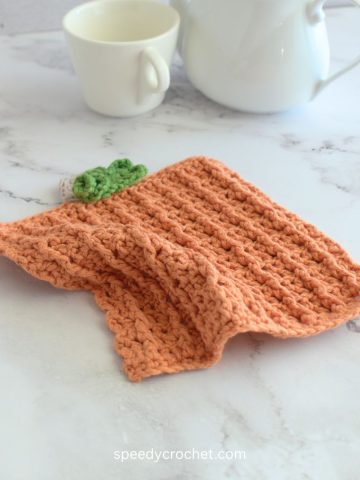
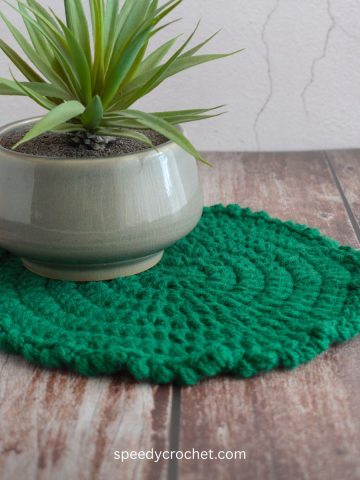
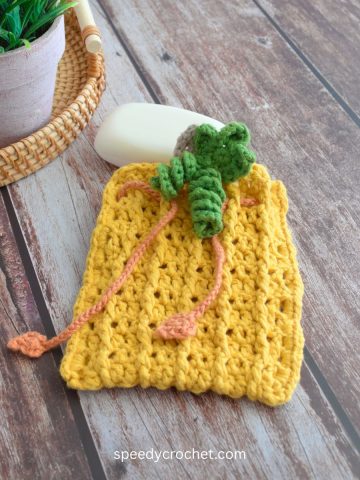
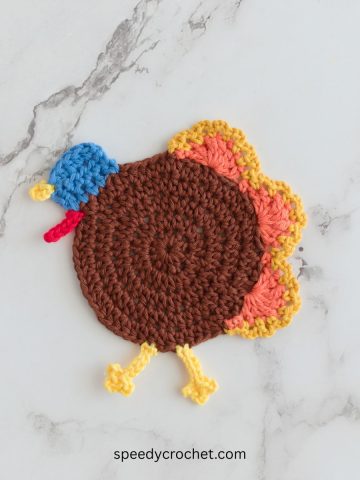
Other Fall Crochet Patterns You May Also Love
If you love quick seasonal crochet projects, be sure to check out these other cozy fall coaster patterns and beginner-friendly makes:
You can also browse the full collection of:
These patterns work beautifully together for creating coordinated fall crochet decor, Thanksgiving table settings, handmade gifts, and seasonal crochet collections.
Crochet Pie Coasters
These pie crochet coasters are a cozy and creative way to bring handmade autumn charm into your home.
The combination of berry-inspired colors, crimped pie crust edging, and lattice top details gives them a playful bakery-style look that feels perfect for fall gatherings and Thanksgiving tables.
Whether you make a matching set or mix different “pie flavors,” these coasters are a fun seasonal project that adds warmth, personality, and cottagecore-inspired style to your crochet decor collection.
If you tried this pie crochet coaster pattern (or any other pattern on my website), please let me know how it went in the comments below. I'd love to hear from you!
What's Next?
- Pin this post: Save this post to Pinterest so that you can come back to it later.
- Share: Share a photo on social median and tag me @speedycrochet. We would love to see your creations!
- Leave a comment: Say hello and share your feedback in the comments section below.